Woodworking matters.
It’s more than a pastime or hobby
being a woodworker means that you know the satisfaction
and pride that comes from using your hands
and mind to build beautiful, functional objects,
and that you’re as interested in the process as the outcome.
Amid the speed and chaos of the modern world,
woodworking gives us a place where we can slow down,
pay attention and take the time
to do things right.”
(Aime Ontario Fraser)
Carpentry runs through my blood, my family history is full of woodworkers and craftsman from general labours, broom makers to the outstanding talent of violin making🎻 I can only imagine the pride they felt when completing a handmade object.
I like to think that’s where my passion for beautiful crafted furniture comes from and why I fall in love with with a man who is so very talented in everything he sets his mind to.
So when it came down to finding the perfect piece of furniture to cover our ugly night storage heatings, I knew Mark would be the perfect person to make it.
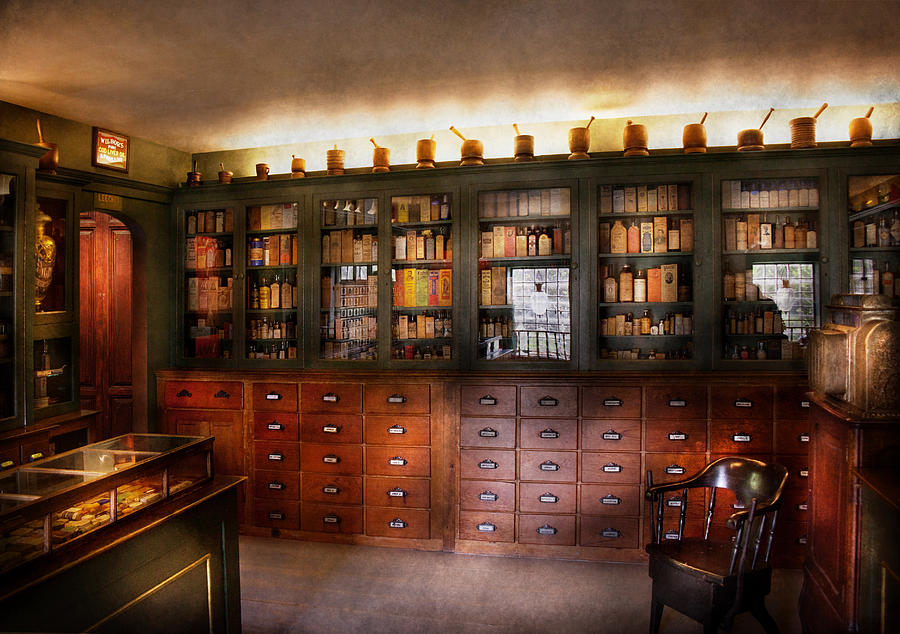
Our goal was to incorporate the old and the new, the end result being a piece of handmade furniture that would satisfy my love for antique apothecary cabinets, while bringing a modern touch by using modern materials.
After days of researching different materials that we could use, it boiled down to either plywood or mdf, mainly down to our local diy shops not carrying large sheets of real wood. If only we could have used oak. That would have been amazing.
MDF wasn’t really what I had in mind, I wanted it to look like wood and mdf would need to be painted. Secondly MDF is classed as the new asbestos, it always worries me when Mark has to work with it, even though he always masks up and is as safe as possible.😷
Plywood would work, I actually love the look of it. We used it as the main material in our utility room and I still absolutely love the room.
Plywood however is a little tricky to get a good finish.
It’s commonly known that wood stain or wax goes blotchy and doesn’t always look the prettiest.
I spent days watching YouTube videos and researching the best way to get the perfect finish.
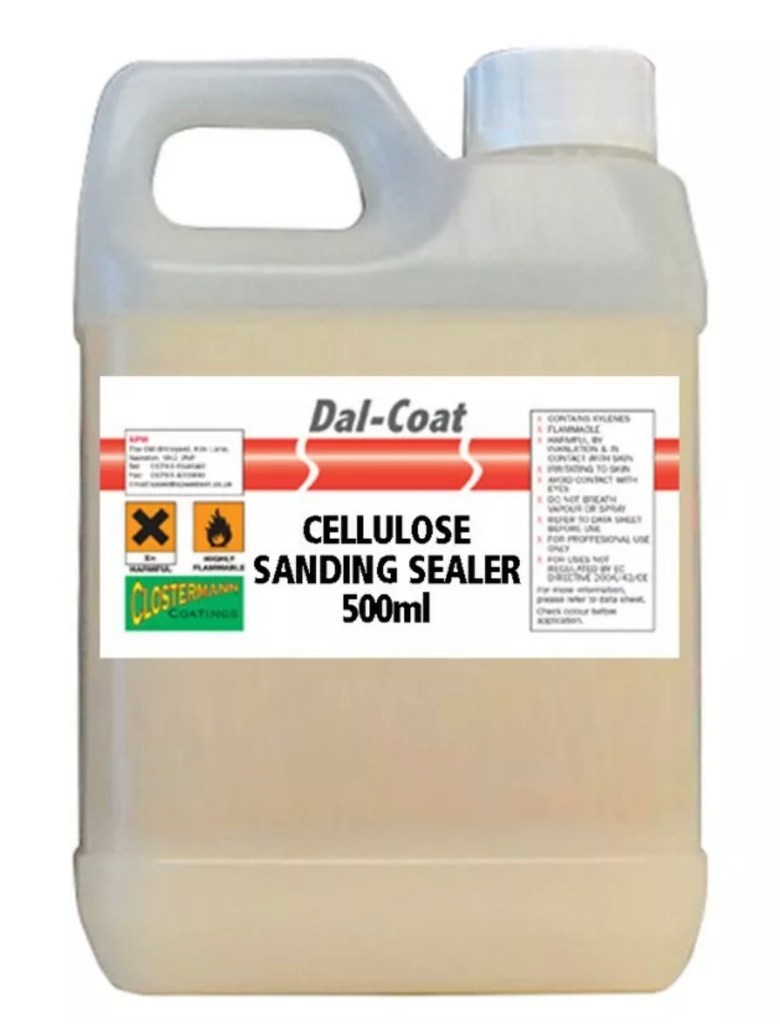
It all comes down to using a prestain, aka sanding sealer before you stain. Most of the information came from American youtubes or site and It was a little hard to track down but finally found some on Amazon and ebay UK. I ordered, 500ML Del-Coat Cellulose Clear Sanding Sealer, costing £11.45 plus £4.99 postage.
With the sealer ordered, Mark made a quick trip to B&Q to get ours supplies, for two apothecary night storage-heater/radiator covers. One for our bedroom and a smaller one for our landing.
We don’t use these heaters very often so we were happy to cover and hide them completely with out having to leave ventilation.
Even though Mark could have cut down the plywood to size at home, we always worry about disturbing our neighbours so B&Q cut them down into strips of the rough size, limiting the cuts we would have to do at home.
The two 18mm plywood sheets were cut into
1 – 1600mm x 800mm
1 – 800mm x 800mm.
4 – 200mm x800mm.
And the rest cut into 200mm strips.
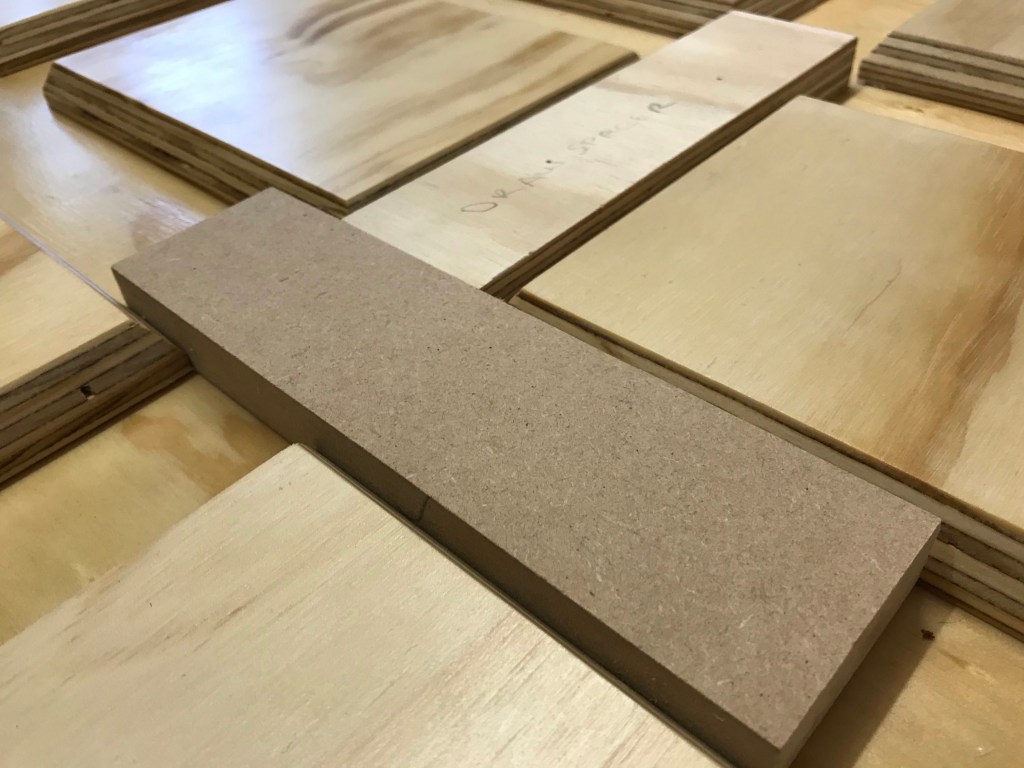
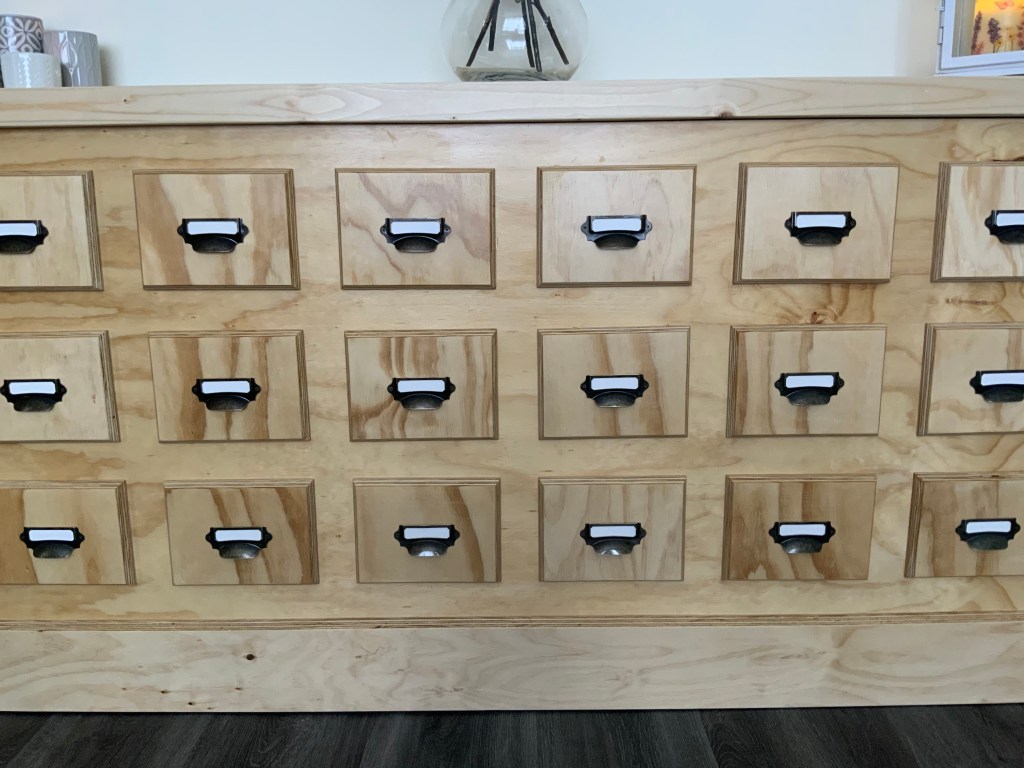
Once home, Mark cut down the 200mm strip down to 200mm x 150mm for the 27 false draw fronts. 9 of these are for the smaller cover.
He then mitred the edges at 30 degree angle.
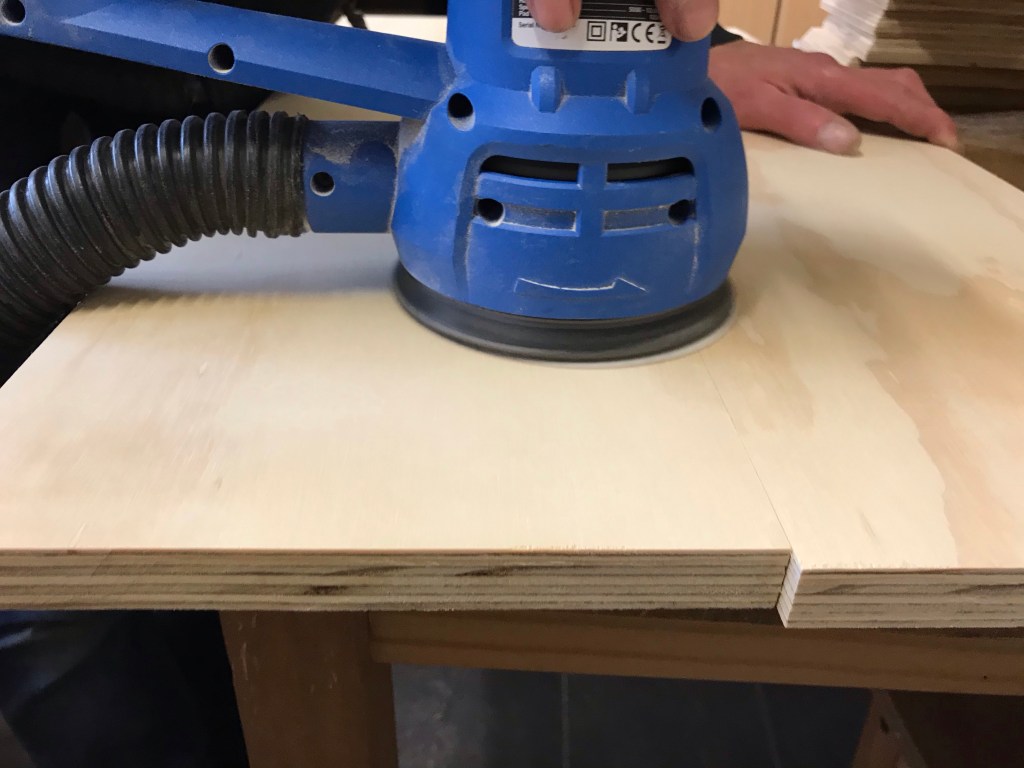
He cut the sides panels, the kickboard front and sides to size and then we gave everything a good old sand, starting with 180 grit sanding disc and finishing with 260 grit sanding disc.
It was then down to me to seal them ready for staining.
One piece of advice, if you ever use, Da-coat sanding sealing, do it outside if you can. If that isn’t a option, mask up 😷 and ventilate as much as possible. ventilation is a must, it is evil stuff. So please be careful.
Apart from the god damn awful smell, it was pretty fast and relaxing job and it dried fast.
We had to decide on the right stain colour. Not an easy task when you can’t go to a shop to pick. We ordered some, Everbuild Quick Drying Wood Stain, Natural Oak, from Amazon.
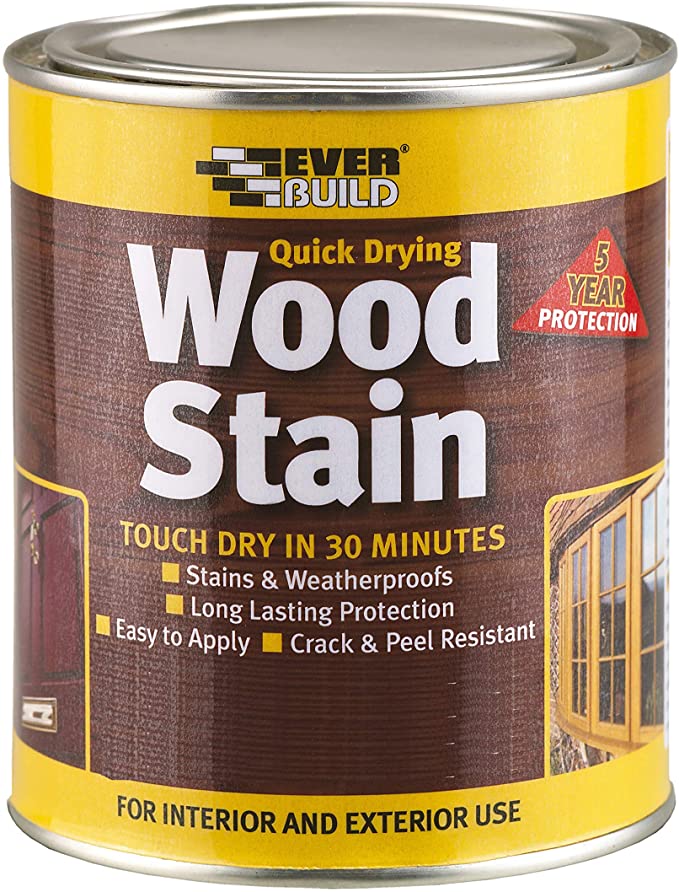
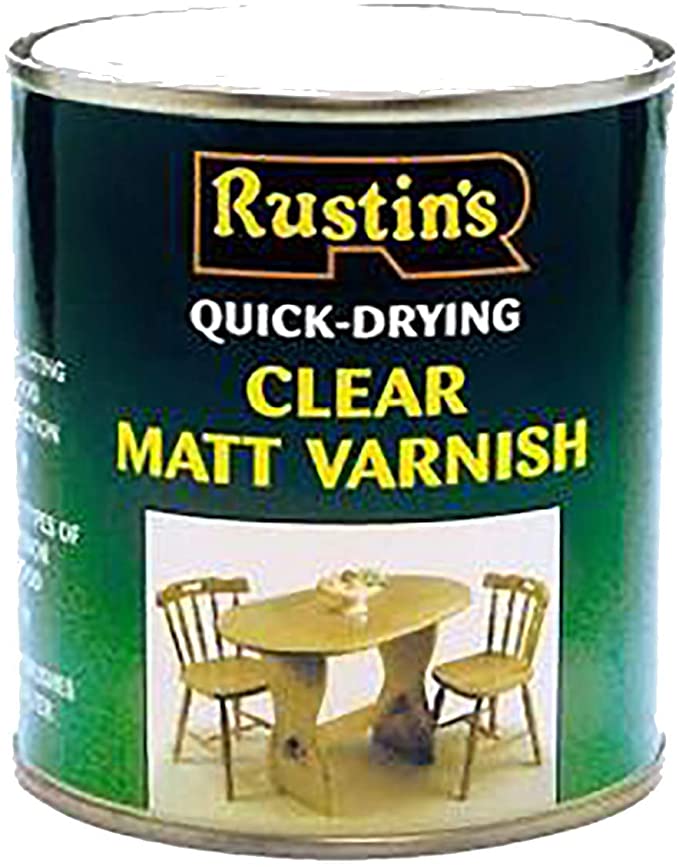
Unfortunately it was a tad too dark for what we had pictured in our minds. After testing out a few stains and waxes, we found in the darkest corner of our shed, we decided we would use, Rustins Clear Matt varnish, which we purchased from Amazon.
The cellulose sanding sealer had darken the plywood and it was almost perfect.
After two coats of sealer and three coats of clear varnish had been applied and dried, it was time to assemble all the pieces together.
Mark used his trusted pocket-hole jig and wood glue, to join the sides and front which gave us the seamless look we wanted.

He marked out the spacing from the false draws and made two spacers out of scraps of wood to make life easier for himself.
He glued the fronts in place and used his nail gun to fix them in place, from the back. It was rather awkward to do mainly because we were working on our kitchen table. Not the ideal location but needs must.
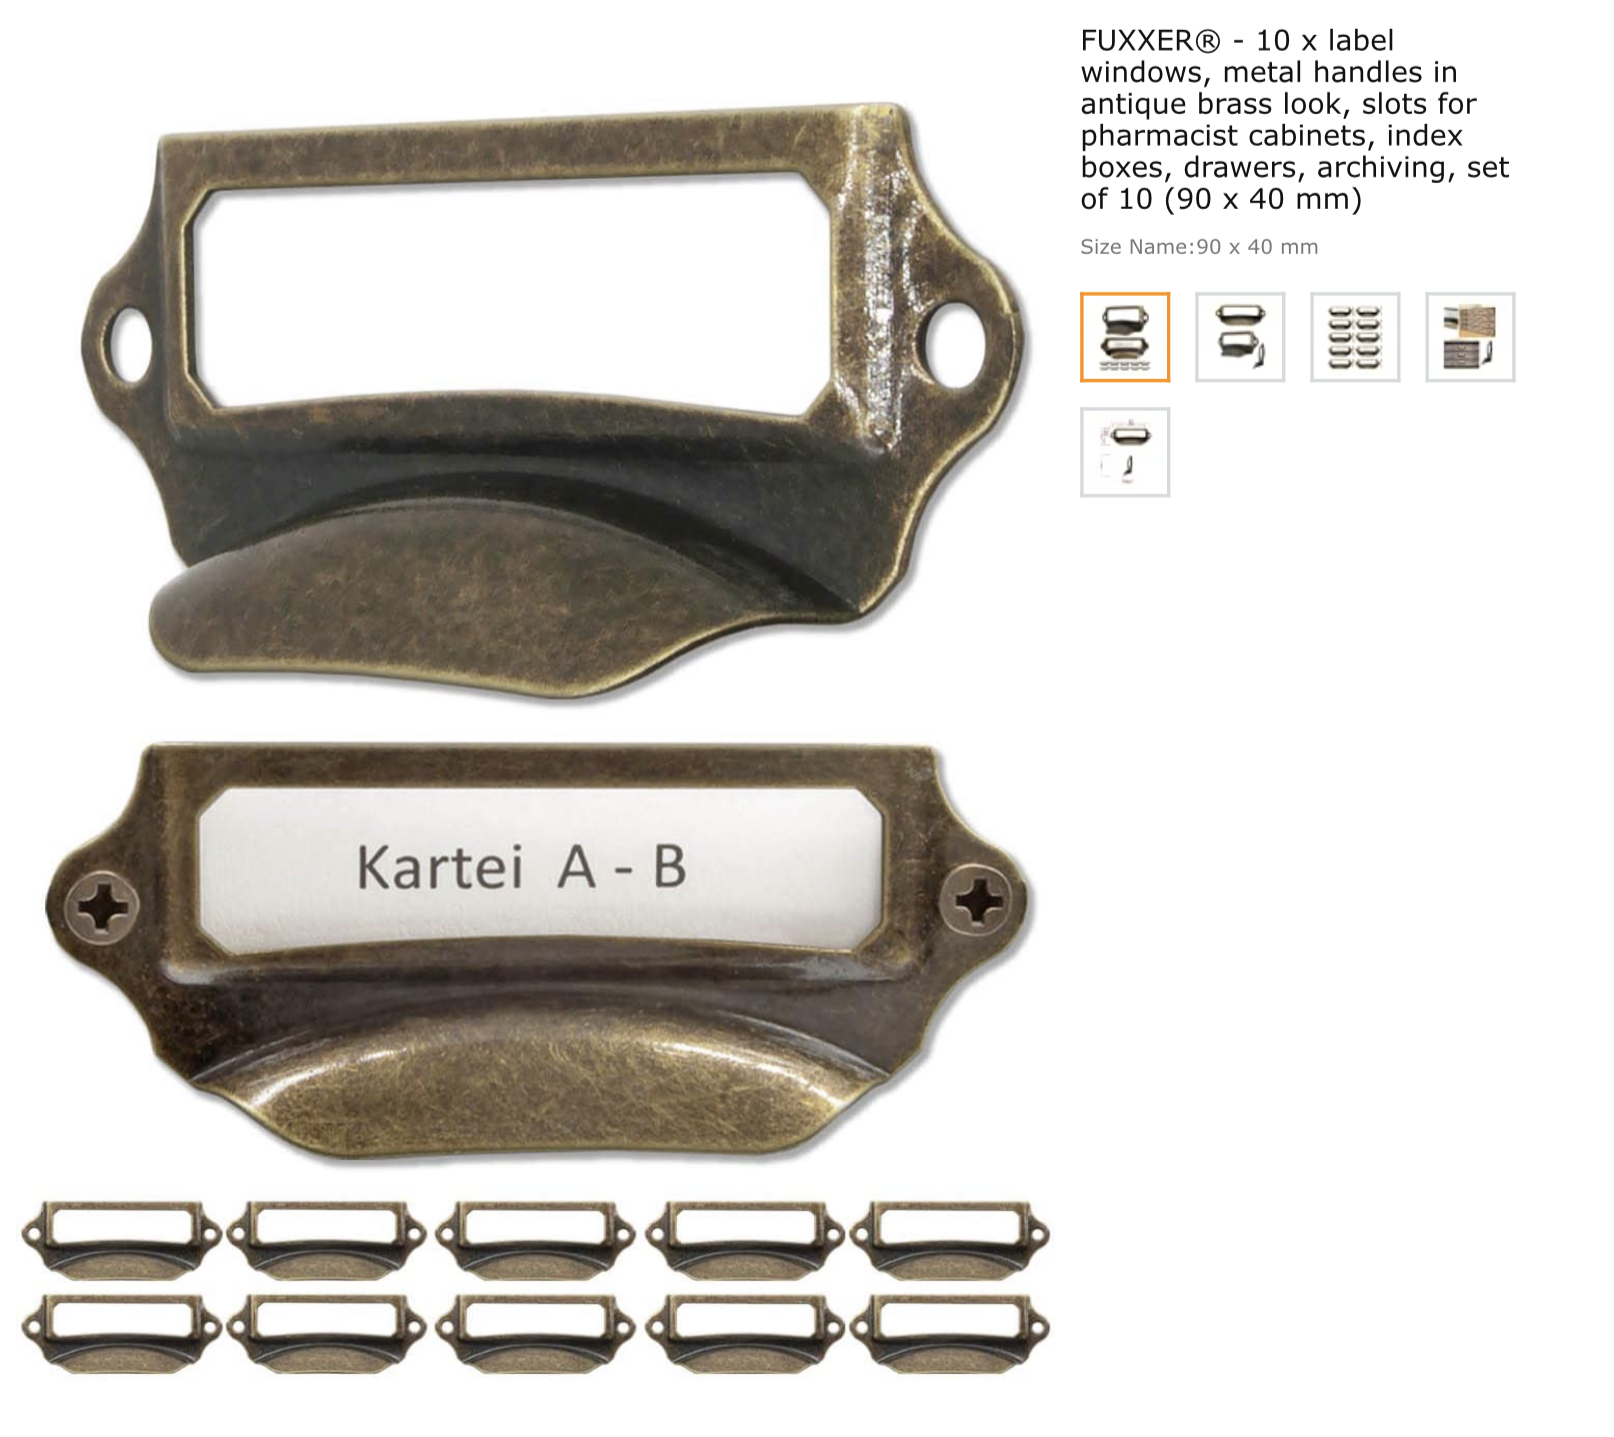
I had already purchased handles from Amazon.

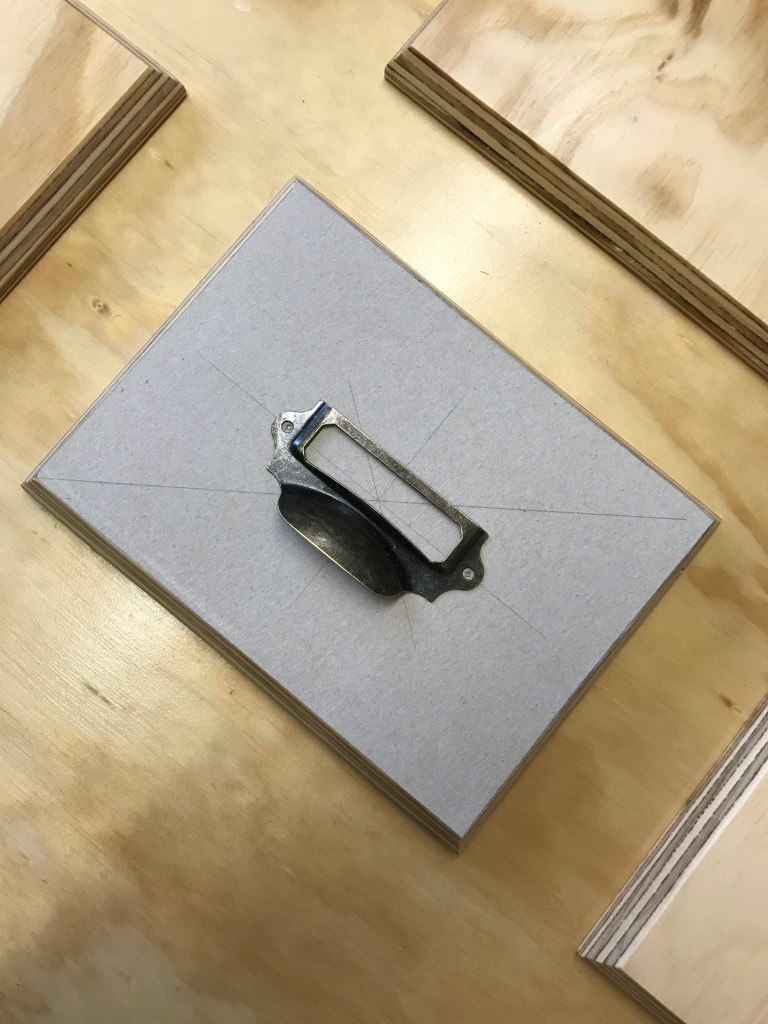
We made a screw hole template, ready to attach the handles, predrilled the screw holes and I screw them on.
It was all coming together beautifully and I was bouncing with excitement.
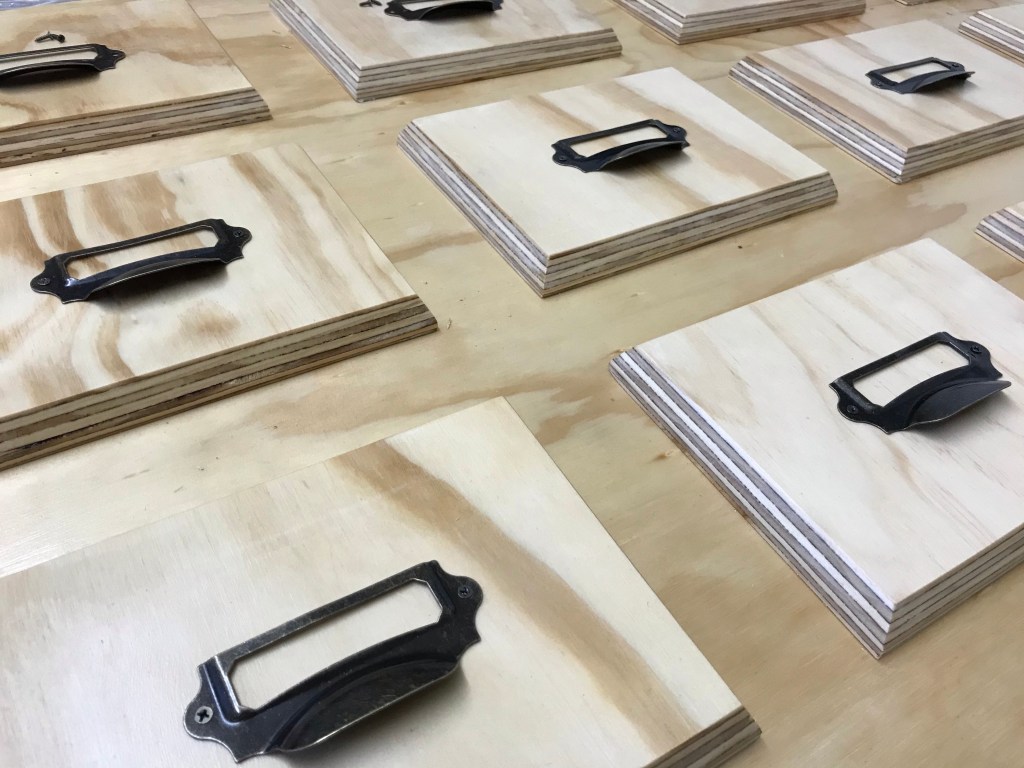
Unfortunately we didn’t have any card, to make the little display cards which go inside the handles, so I cut up a unused Christmas card, which did the trick.
I debated staining them with tea or coffee but decided to leave them. I can always do this at a later date.

We only had the top to make but had terrible trouble getting hold of the wood we needed. Eventually we tracked some down at our local Wickes, unfortunately it was a tad warped. We couldn’t do much about it but hoped we could rectify the problem by screwing it into place.
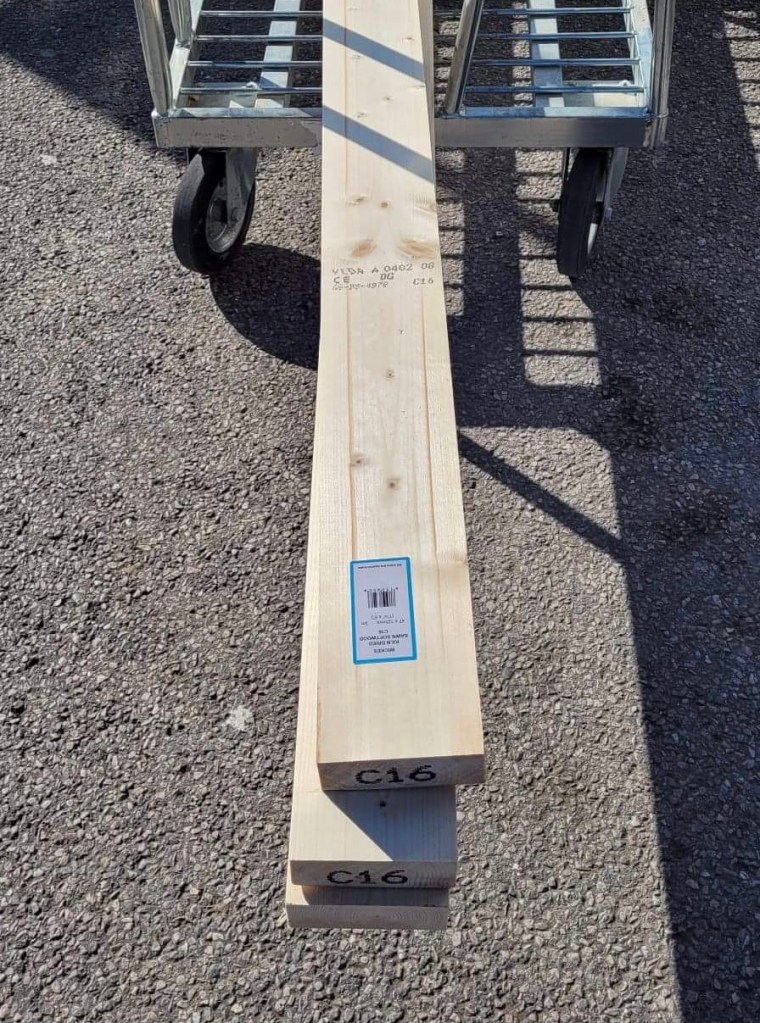
Mark had to join two pieces of 125mmx47mm together to get the depth needed. He used his trusty pocket jig, wood glue and screws to join them and filled the slight gap with a mix of glue and sawdust from the sander.
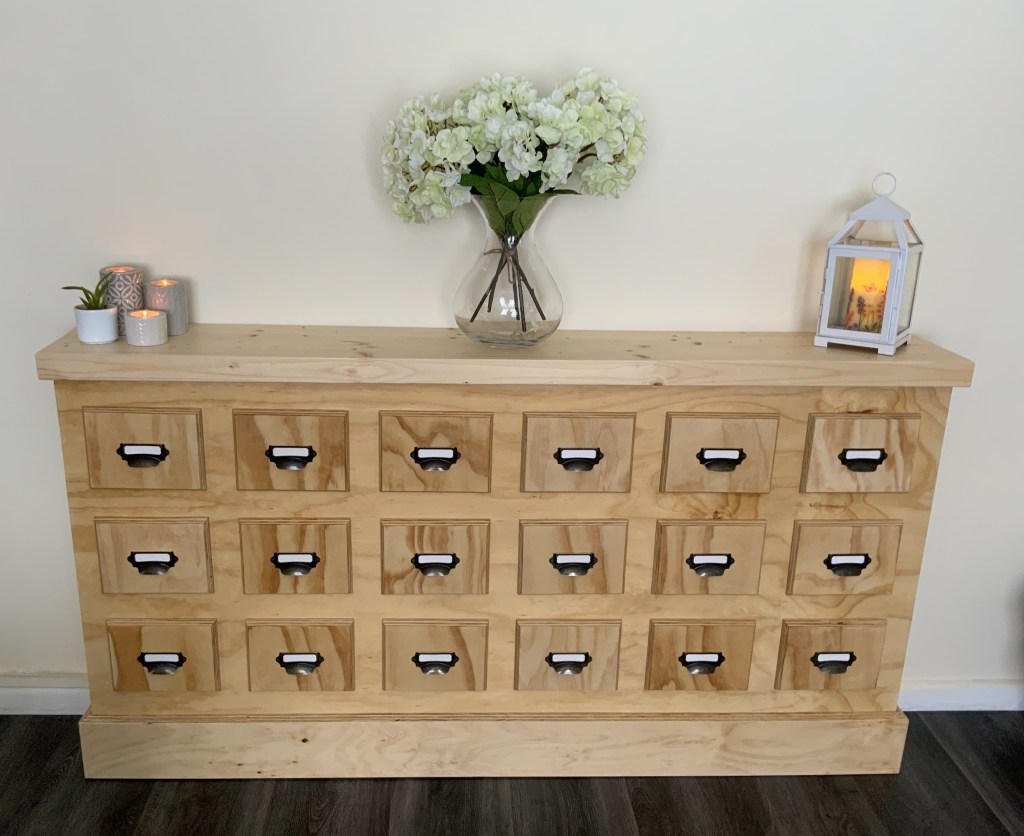
Once dry, he cut them to size, 1650mm long. I then gave it a light sand, sealed and varnished it. Once dry we added the top and it was finished.
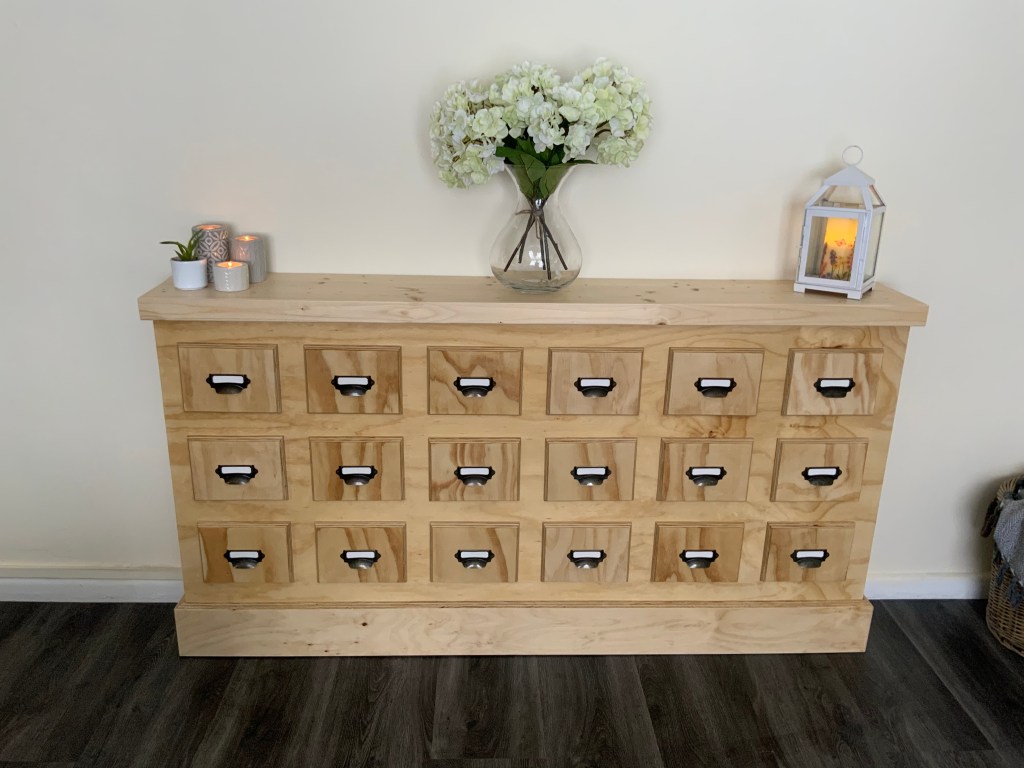
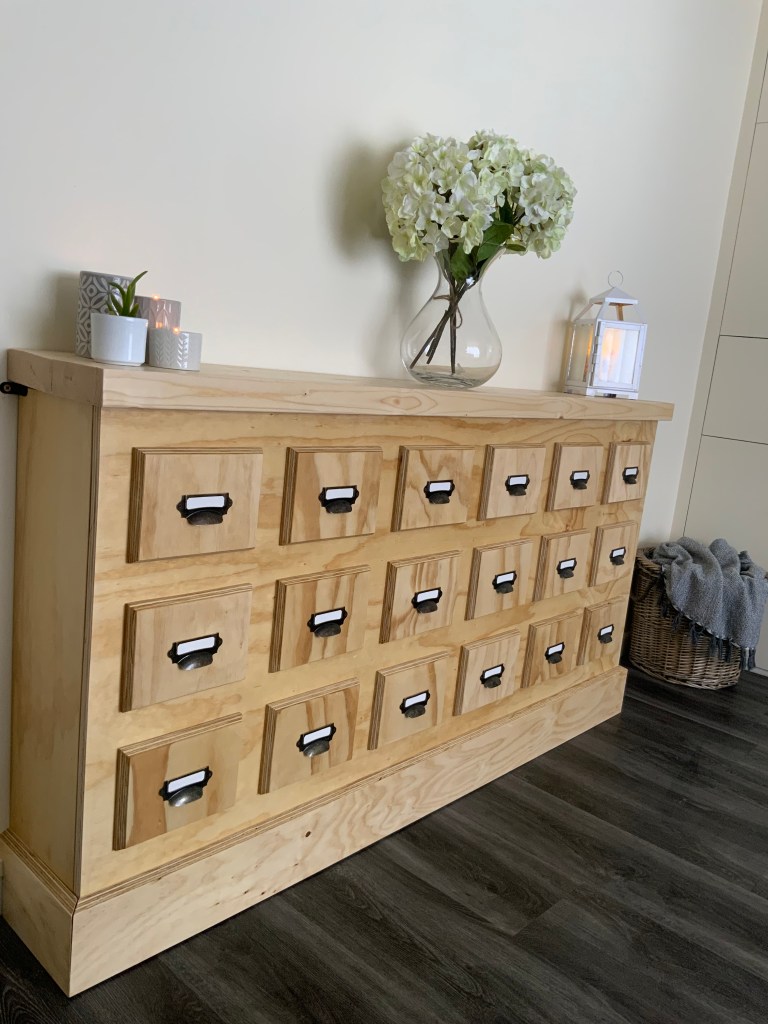
I can not tell you how utterly chuffed I am with it. I love it so much so it is no longer destined for our bedroom but it’s in pride of place in our front room where I can look at it every day.
Once in place we decided to attach it to the wall, using black corner brackets, which I purchased from Amazon.

Mainly for safety reasons, because our mummy cat has decided she’s kind of fond of sitting on it, which sends my anxiety through the roof, due to our vow renewal present from our best buddy’s Simon and Helen having pride place upon it. 💐 I would be mega upset if Kitty sent it flying to the floor.🐈⬛
I am truly smitten with the finished apothecary radiator/night storage heater cover. I can’t wait to start on the next.
So what did it cost us to make?
2 sheets Plywood £35 each.
2 lengths of 125×47 pine wood £10 each.
Sanding sealer £16.44.
Varnish £9.60
Handles 3 packs of 10, £11.99 each.
Brackets (pack of 20) £9.99.
We already had wood glue, nail gun nails, screws and a pocket hole jig so didn’t have to pay out for these.
The total cost was £162.00.
Not bad ah!!!
Especially considering it’s the cost for two covers. 😃
No matter what the cost, the most important thing is, the quality time Mark and I spent together and the fact that we both are chuffed to nuts with it.
I love it, truly I do.
I can’t wait to get going on the smaller version for our landing.
Until next time, stay safe and give life your everything.
Too-da-loo.
🦋🦋🦋

Well done to you both , it looks fab , how cleaver !!!
LikeLike
Thats is so good. Well done to you both!
LikeLike
It is fab you should start taking orders. Well done
LikeLike
It is brilliant you should start taking orders. Well done
LikeLike
Love it! Beautiful. So clever, both of you. My Dad was a carpenter, well pattern maker by trade. I used to watch in awe as he made things but I’ve never had a go with wood or any DIY apart from painting. I did make some curtains once which was a random project but I am still proud of them. I also did 3 male hair cuts last week ready for boys going back to school from lockdown. My Grandad Cooper was a barber and his own shop, I like to think somehow it’s in my blood! Half the battle is being brave enough to try and have a go.
You guys have completed an amazing project together. I too would gaze at the finished project with happiness. Well done xxx
LikeLike